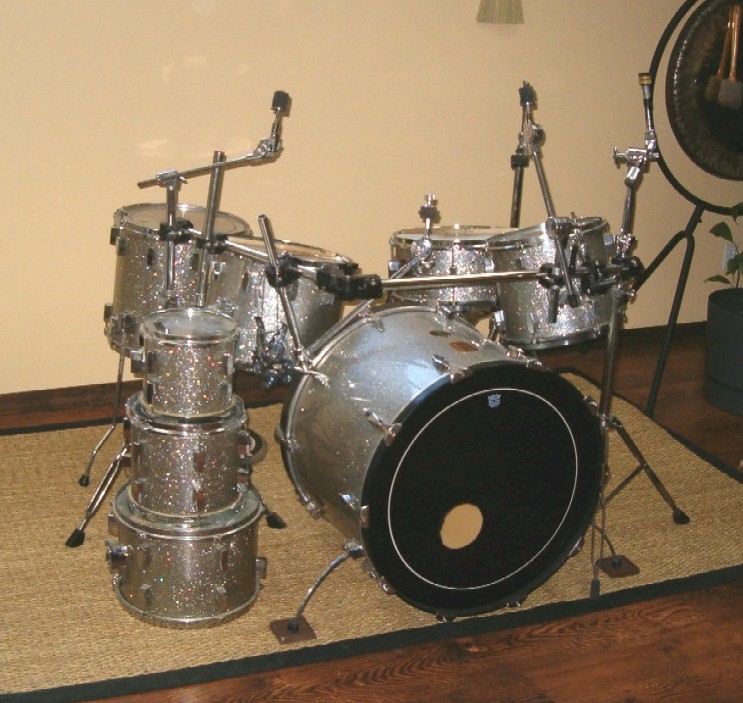
 How it started. I drove 1,000 miles in one day to pick the kit up in British
Colombia.
How it started. I drove 1,000 miles in one day to pick the kit up in British
Colombia.
Dan's Milestone DIY (Do It Yerself) Project
How it started. I drove 1,000 miles in one day to pick the kit up in British
Colombia.

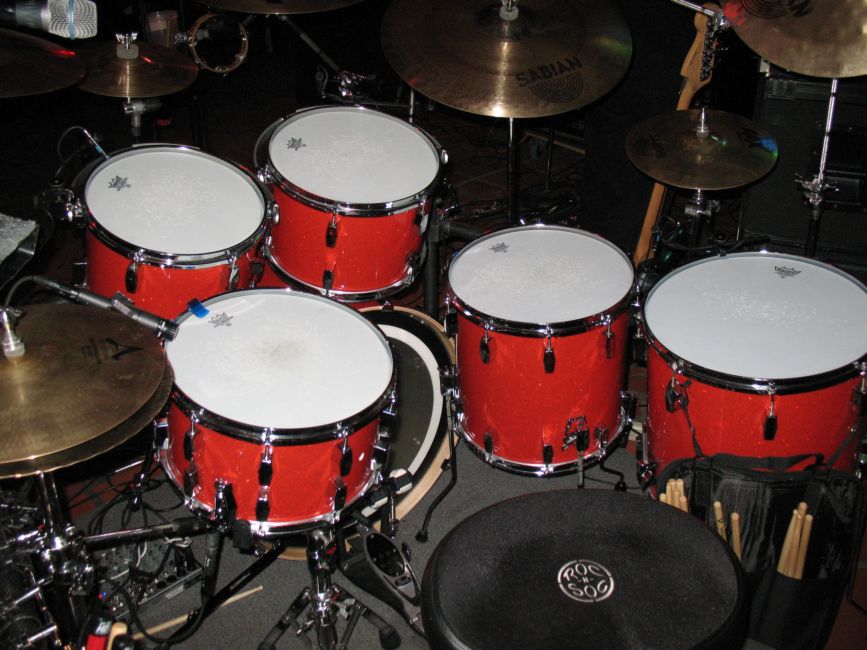
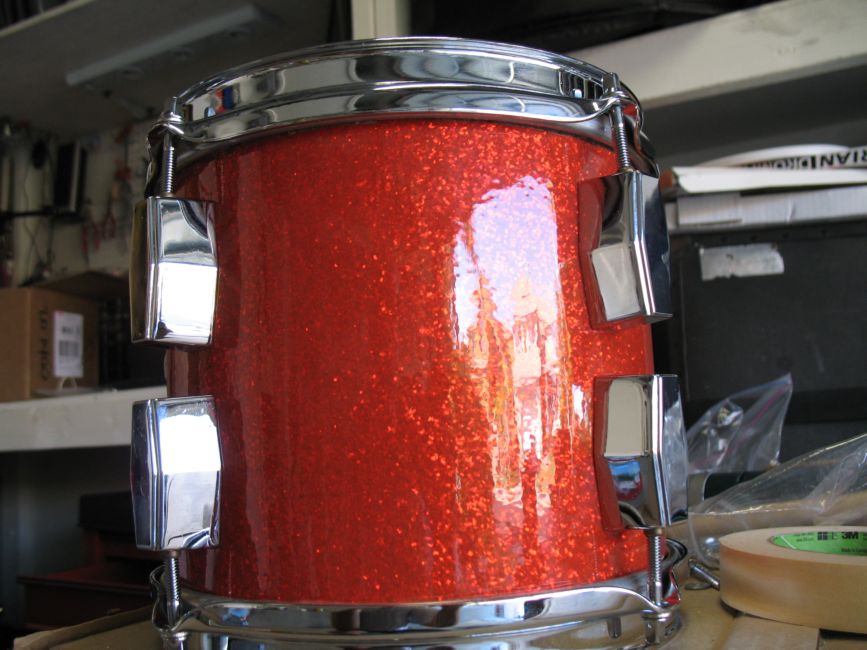
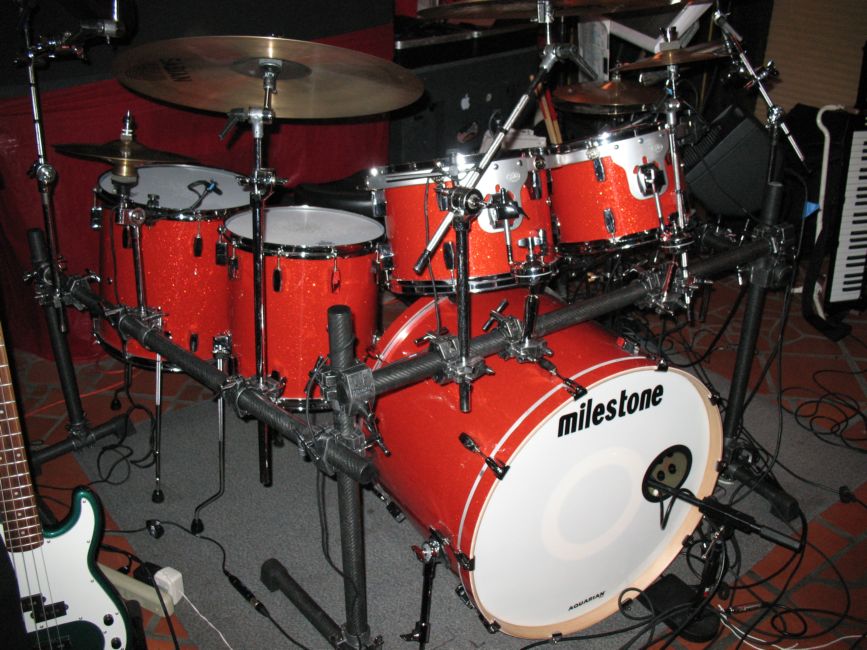 The finished project.
 Another shot...


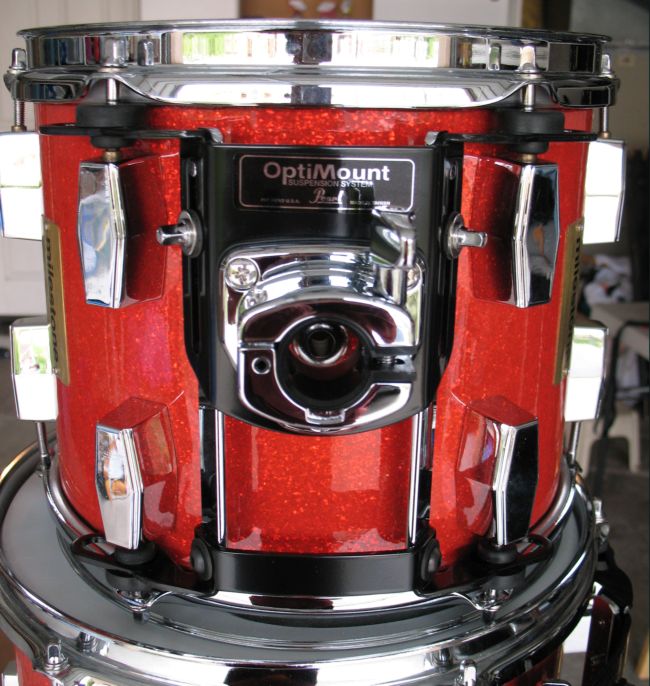
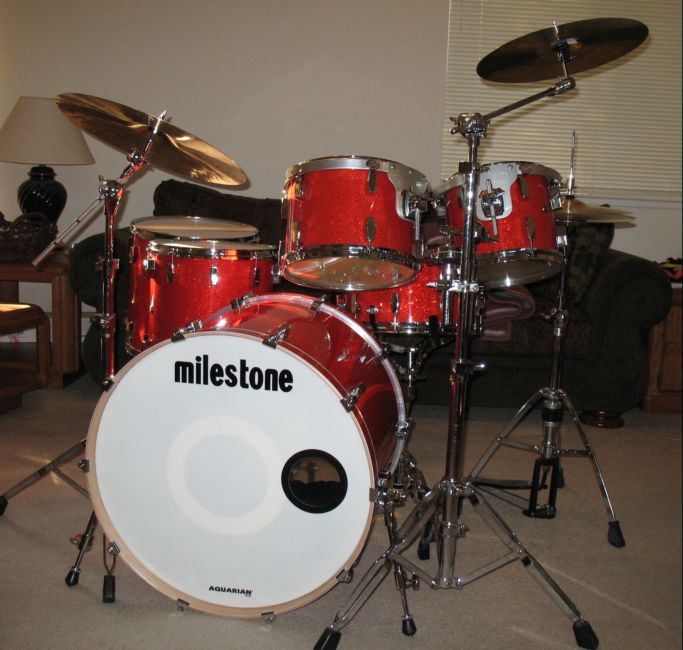
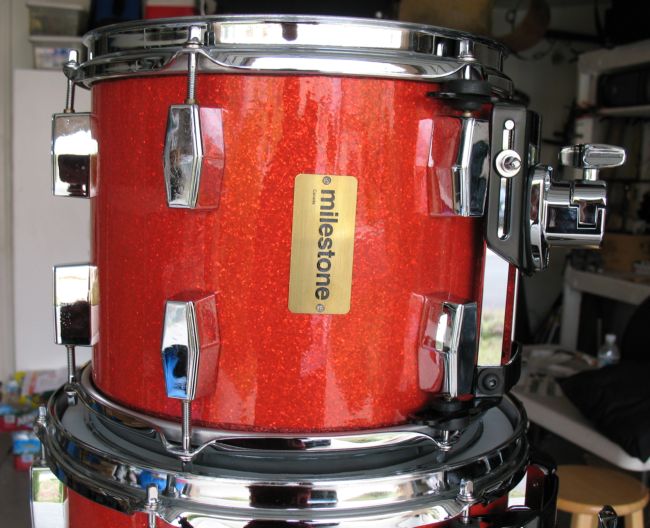
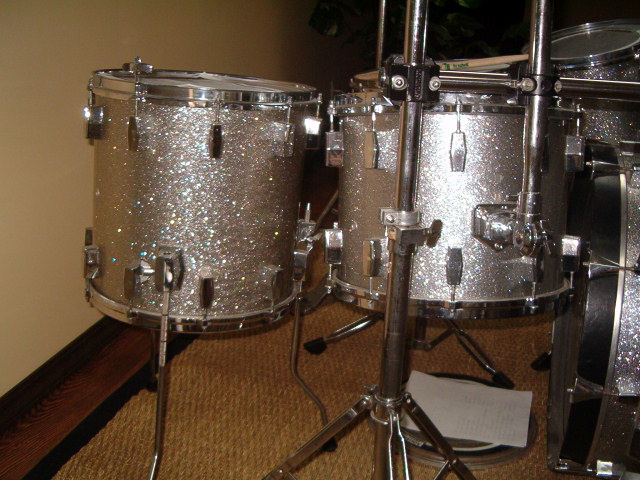
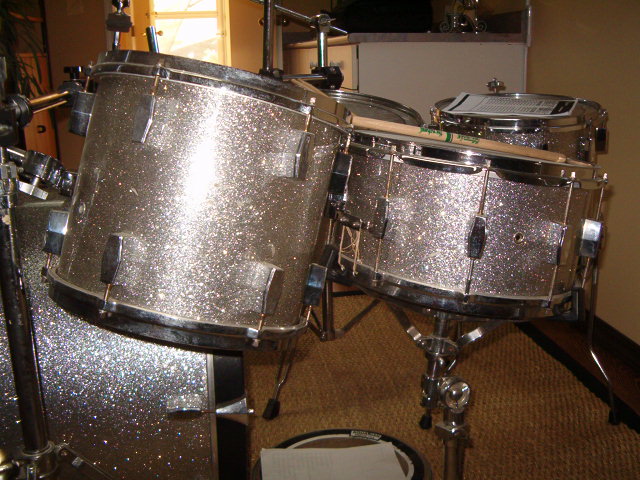
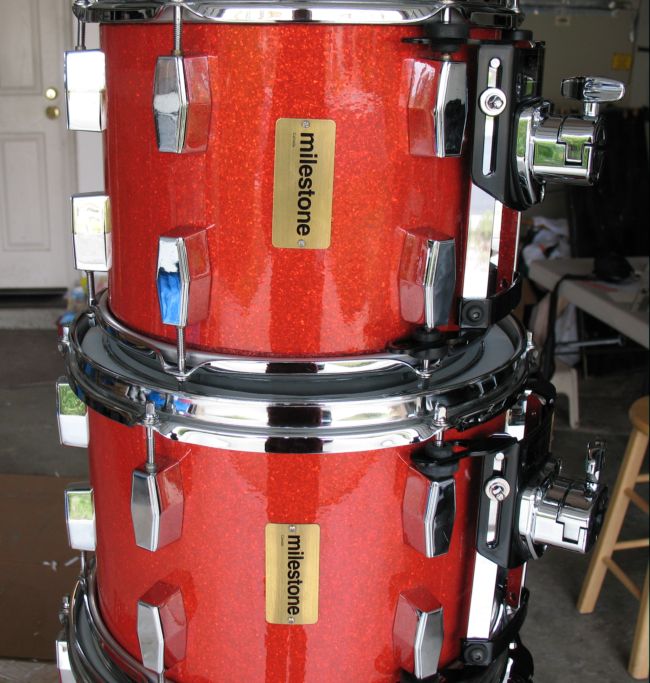 The most recent shots of the Milestones. I've installed Milestone badges and
Pearl Optimounts.
The most recent shots of the Milestones. I've installed Milestone badges and
Pearl Optimounts.
 Notice the bottom wrap where you can see where I had to make an "adjustment" to
my wrapping job to make the heads fit. It is purely a cosmetic thing however.
The 10" and 13" is the most obvious but not noticeable as you can see from the
finished pictures.
Notice the bottom wrap where you can see where I had to make an "adjustment" to
my wrapping job to make the heads fit. It is purely a cosmetic thing however.
The 10" and 13" is the most obvious but not noticeable as you can see from the
finished pictures.
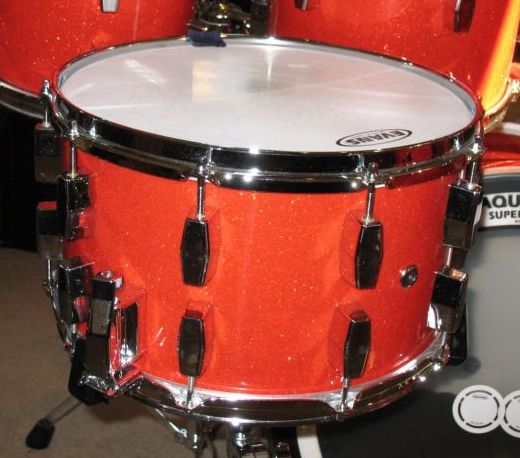
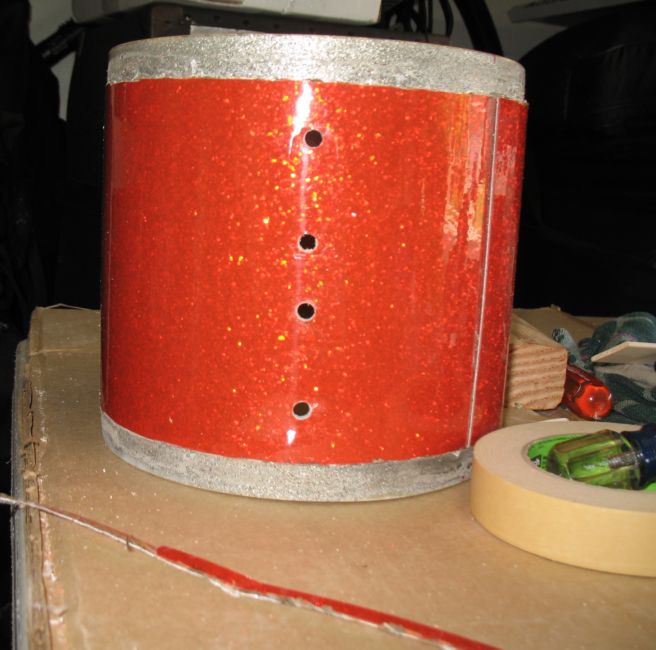
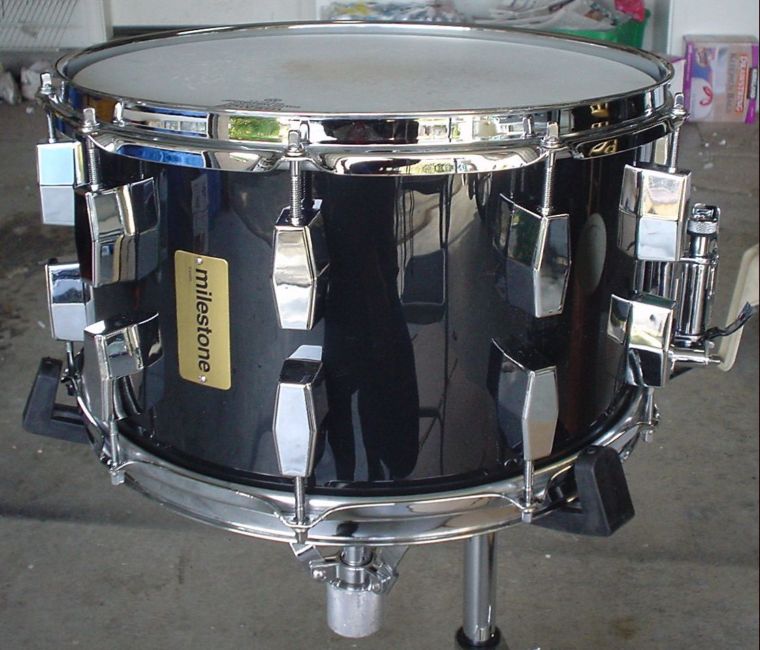 And more including the 10x14 tom that I converted into a 8x14 snare drum. (I've
since sold the original snare drum) . I wrapped over the existing holes. A big
sounding snare with a Dunnett R class throw,
And more including the 10x14 tom that I converted into a 8x14 snare drum. (I've
since sold the original snare drum) . I wrapped over the existing holes. A big
sounding snare with a Dunnett R class throw,
 Pics of the original kit in British Colombia. See the tom next to the floor tom
with legs? That is what eventually became the snare mentioned above.
Pics of the original kit in British Colombia. See the tom next to the floor tom
with legs? That is what eventually became the snare mentioned above.
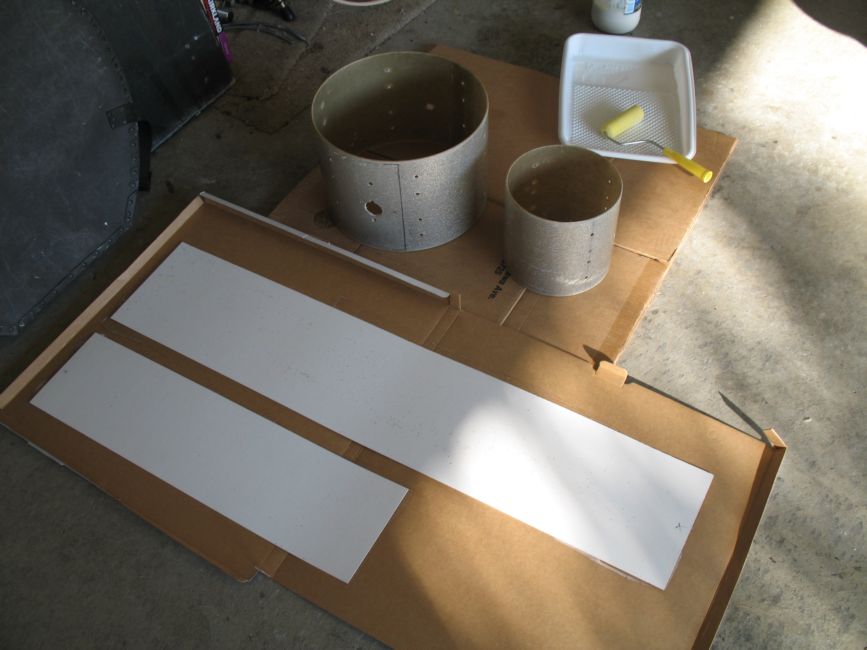 The
wrap laid out and prepped with glue to be applied. The wrap was purchased and
pre-cut at Precision Drums.
The
wrap laid out and prepped with glue to be applied. The wrap was purchased and
pre-cut at Precision Drums.
 The
wrap as I laid it out after receiving it.
The
wrap as I laid it out after receiving it.
 I
spent three days on my garage. Thank goodness, I have a computer and sound
system installed there.
I
spent three days on my garage. Thank goodness, I have a computer and sound
system installed there.
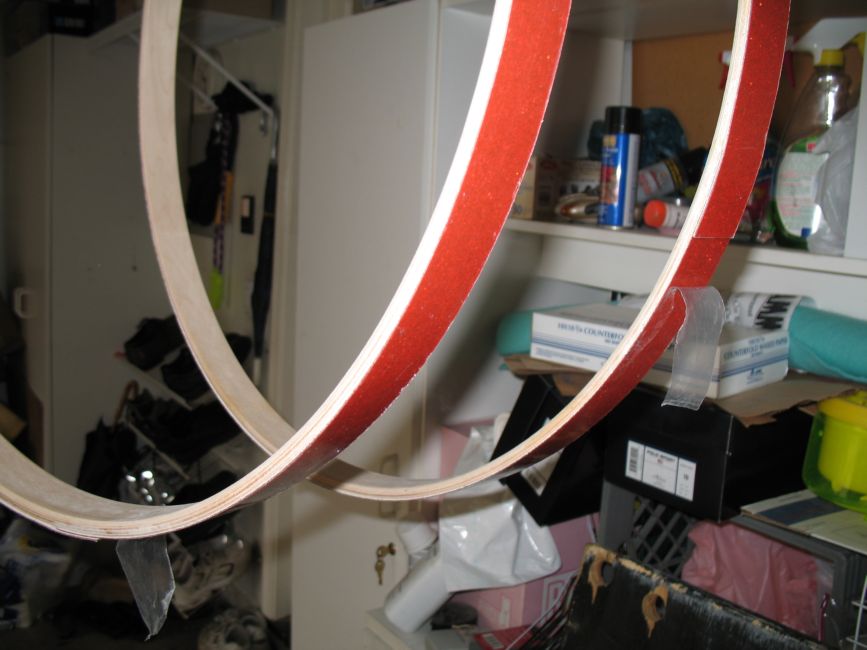
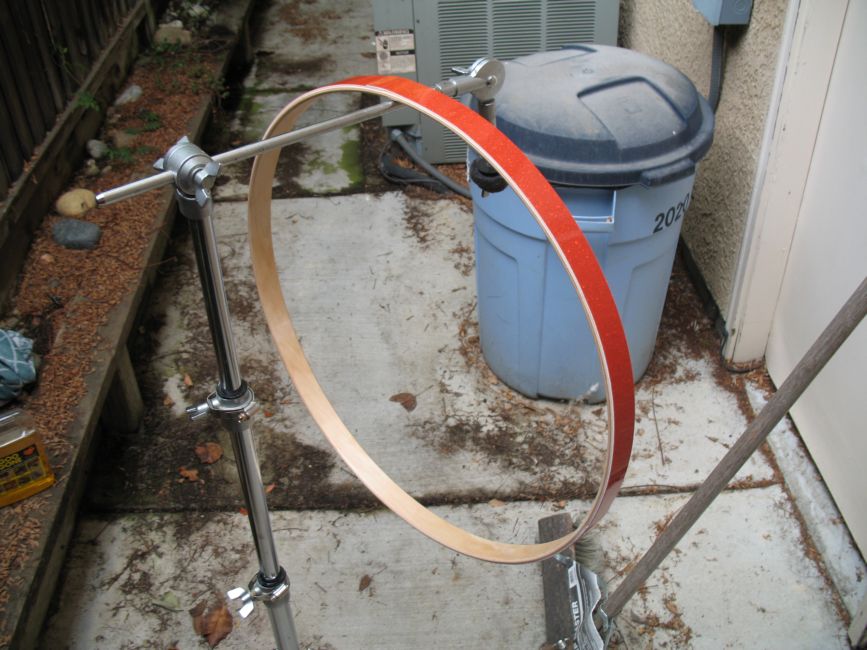
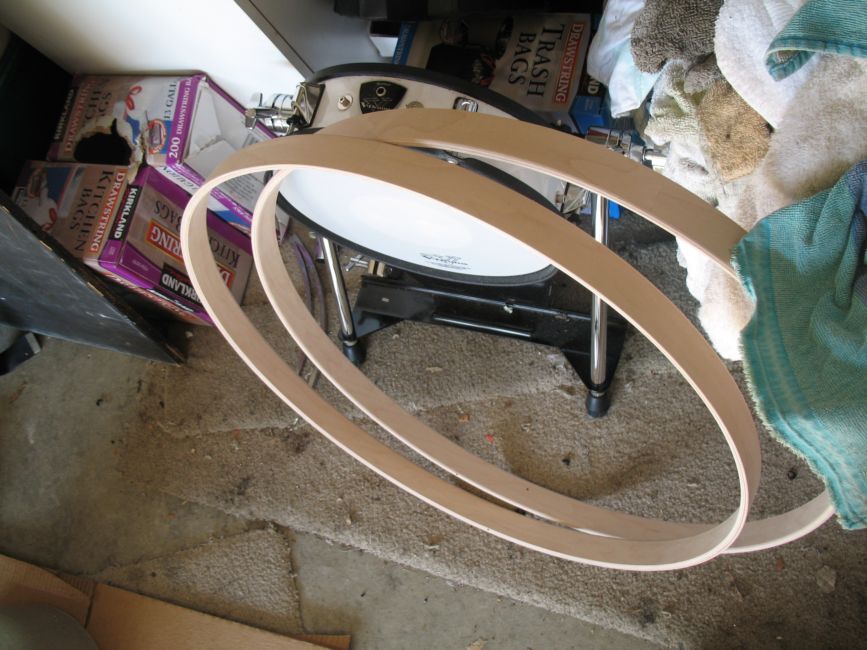 The
raw hoops. I gave them a few coats of clear coat after I "wrapped" em...
The
raw hoops. I gave them a few coats of clear coat after I "wrapped" em...
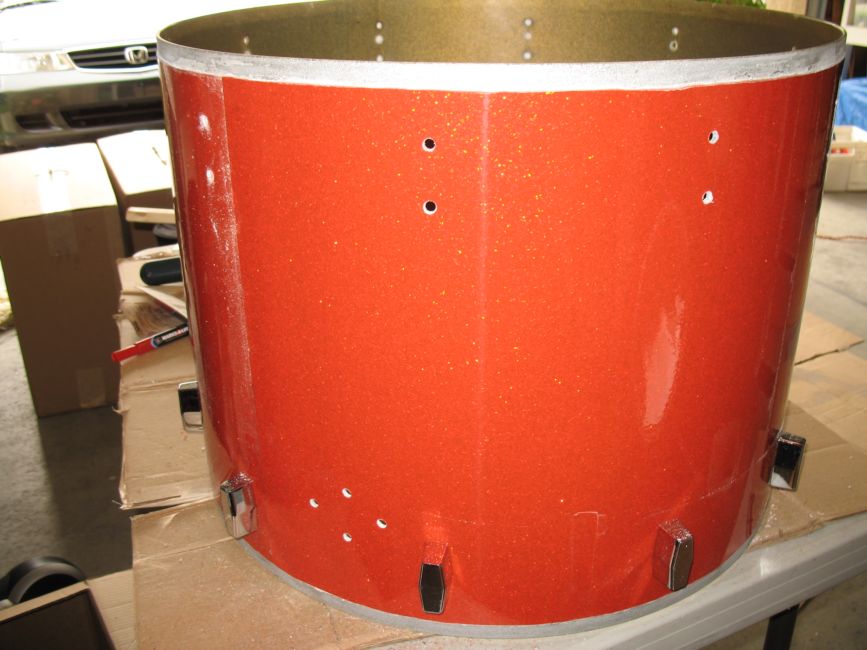
 I
had to cut down the wrap, even after I ordered them 1/4" too small on each end.
The shells are exact sizes which meant the head would not fit over the wrapped
shell. I had to use dremel tool to cut them down to 1/2" on each side. Then I
used a red magic marker on the exposed shell. Talk about being nervous that this
project was screwed after all the driving and money spent for warp and hardware
:-O!
I
had to cut down the wrap, even after I ordered them 1/4" too small on each end.
The shells are exact sizes which meant the head would not fit over the wrapped
shell. I had to use dremel tool to cut them down to 1/2" on each side. Then I
used a red magic marker on the exposed shell. Talk about being nervous that this
project was screwed after all the driving and money spent for warp and hardware
:-O!
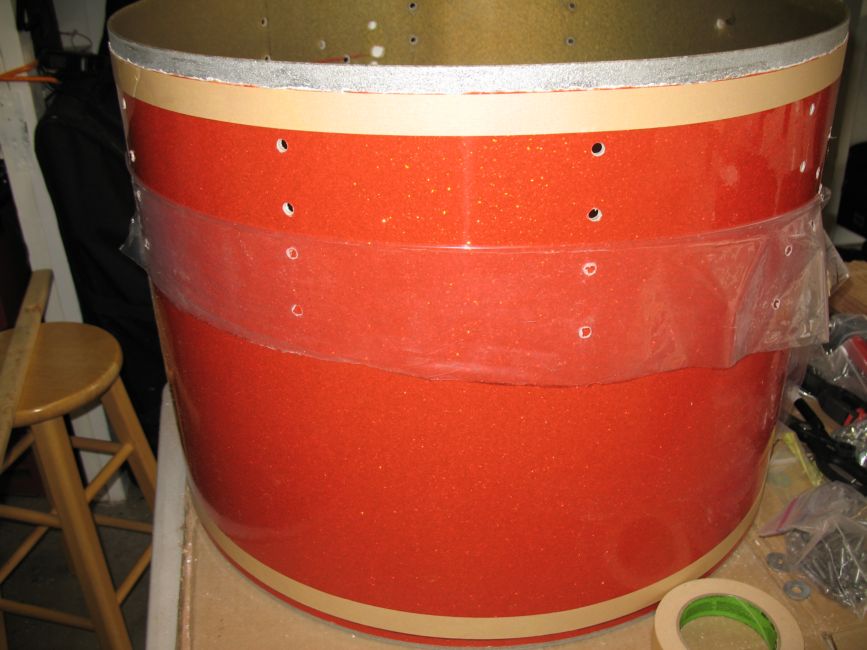
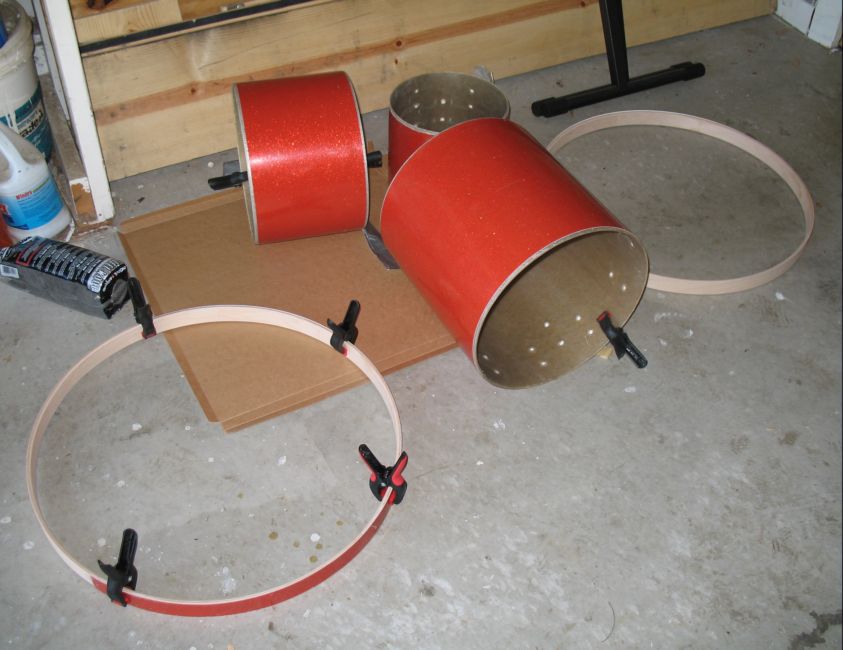 Shells and hoops curing after wrap application
 Finished 8x8. Look carefully at the shell near the rim. You can see the "mess
up".
Finished 8x8. Look carefully at the shell near the rim. You can see the "mess
up".
 Another shot the 8".
 A
view of how I made my cuts since the dremel is one pesky tool!
A
view of how I made my cuts since the dremel is one pesky tool!
 After the "cut"
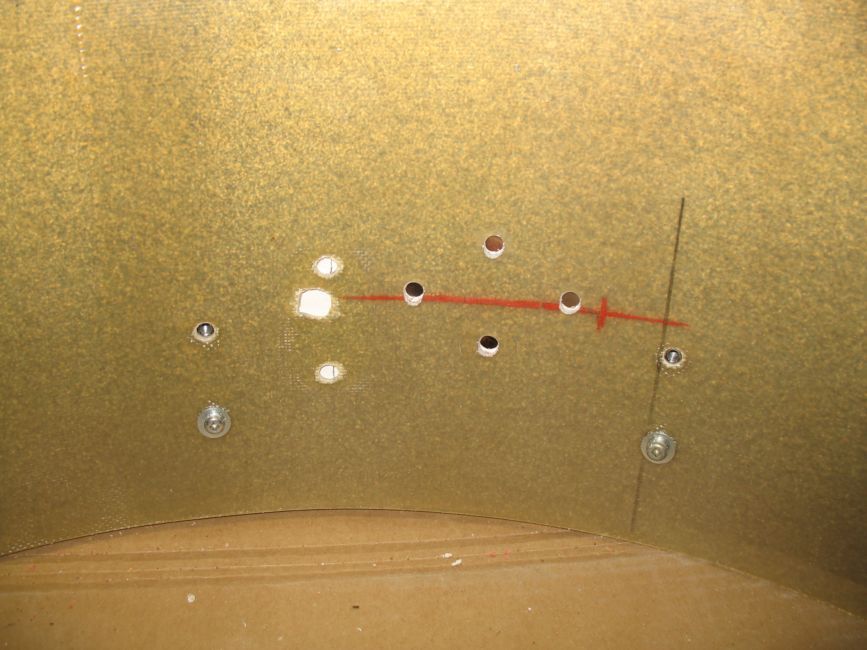
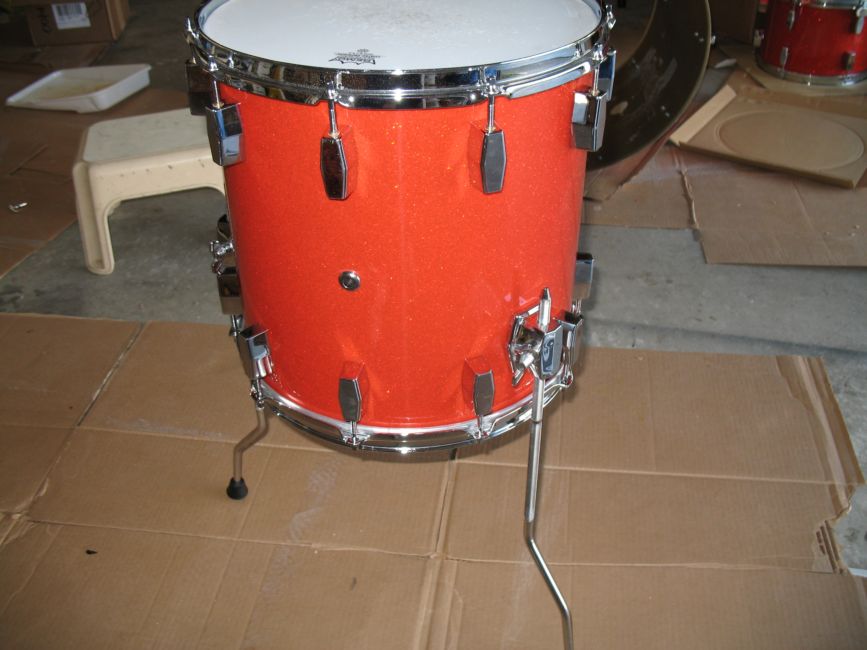
 The 12" drum where I had to move the lugs back a half an inch. Again, purley
cosmetic on the inside. New wrap got applied afte the "move"
The 12" drum where I had to move the lugs back a half an inch. Again, purley
cosmetic on the inside. New wrap got applied afte the "move"
 Hoops "curing"
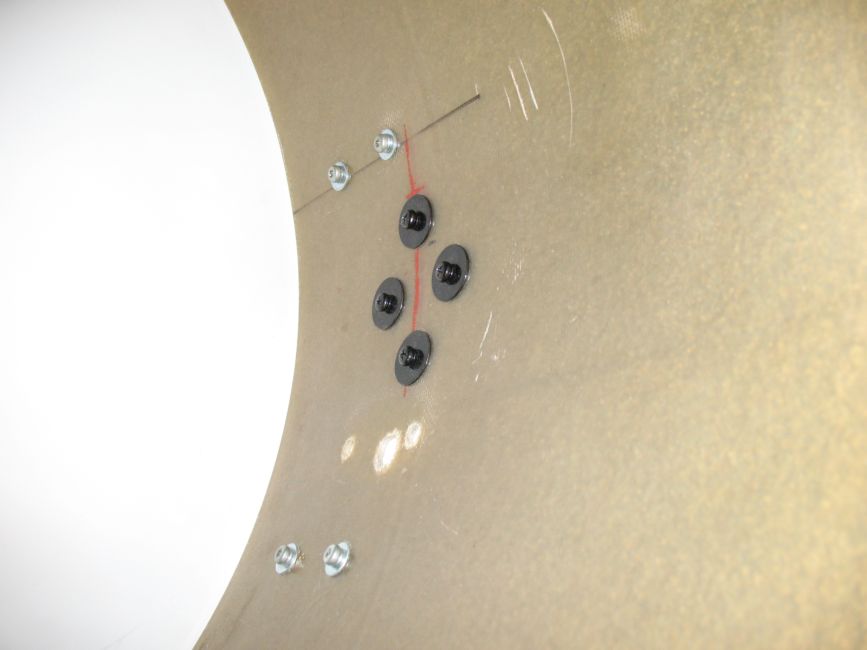
 I
was anxious to apply the lugs so I could see how the cut looked.
I
was anxious to apply the lugs so I could see how the cut looked.
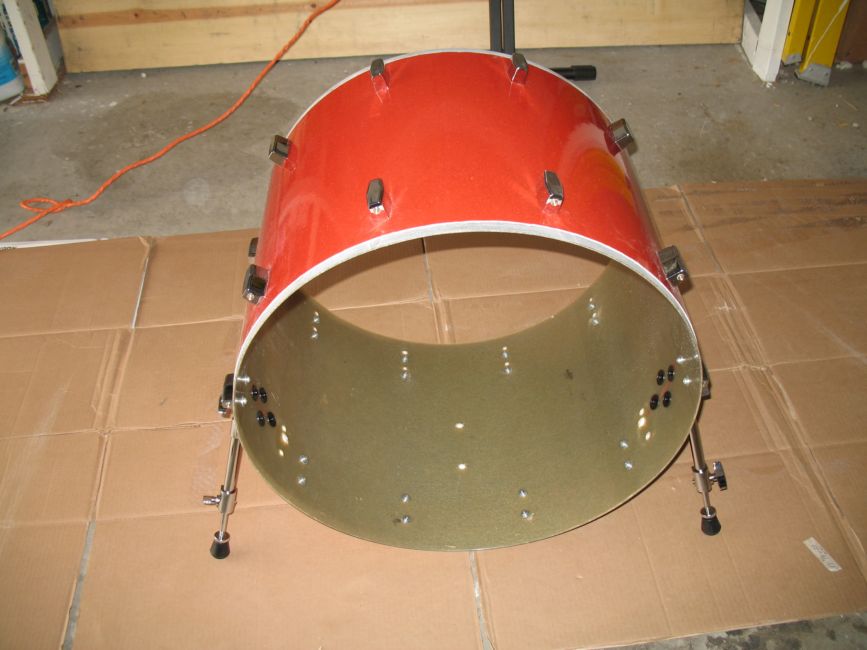
 Another shot of the kick. I also upgraded the bass drum spurs spurs. See the
layout?
Another shot of the kick. I also upgraded the bass drum spurs spurs. See the
layout?
 Another...
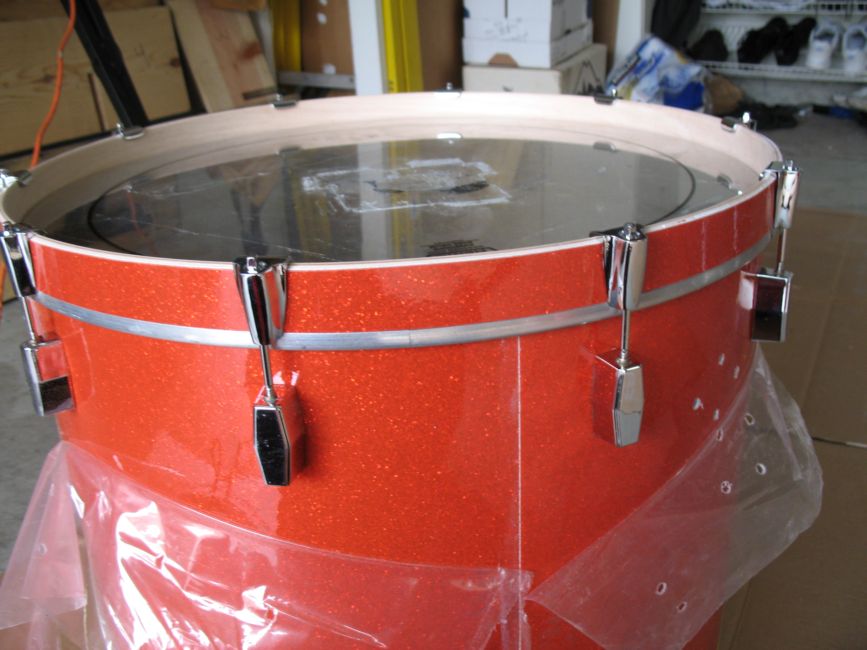
 Nervous moments. One slip and the wrap would be ruined.
 The kick
 On the batter side of the Milestone kick, I actually drilled new holes for the
lugs. For some reason, Milestone had his batter side lugs closer to the edge of
the shell. This enable him to employ thinner hoops. Why? No idea... I didn't
care for that look and since I was using new hoops< i decided to make both side
uniform.
On the batter side of the Milestone kick, I actually drilled new holes for the
lugs. For some reason, Milestone had his batter side lugs closer to the edge of
the shell. This enable him to employ thinner hoops. Why? No idea... I didn't
care for that look and since I was using new hoops< i decided to make both side
uniform.
 The layout for the spurs. This is how I got it ready to be drilled. Always
"nervous" moments when drilling as well.
The layout for the spurs. This is how I got it ready to be drilled. Always
"nervous" moments when drilling as well.
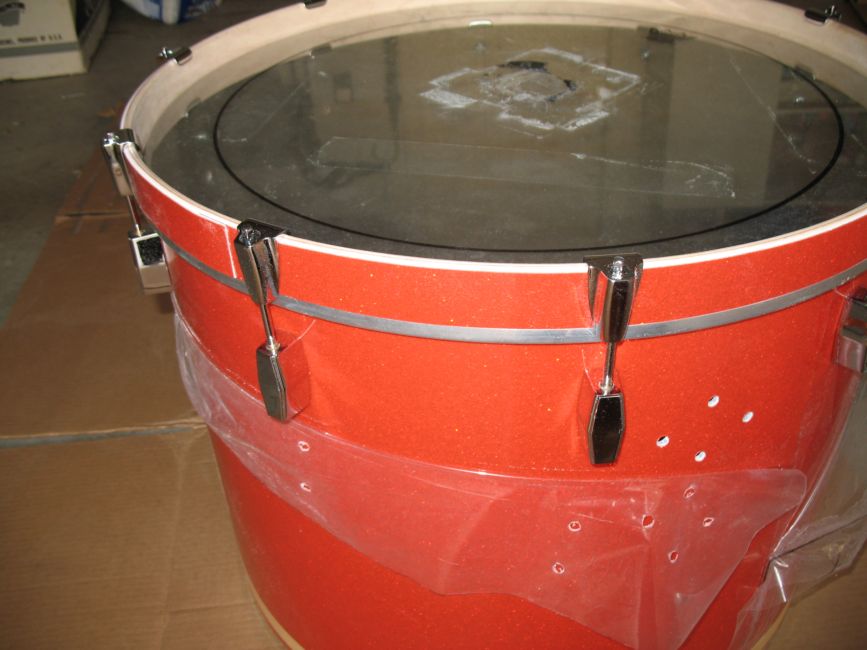
 The finished product on the inside.
 After a lot of sanding of the wrap of the hoops, I applied several coats of
spray clear coat. This is a shot of it drying.
After a lot of sanding of the wrap of the hoops, I applied several coats of
spray clear coat. This is a shot of it drying.
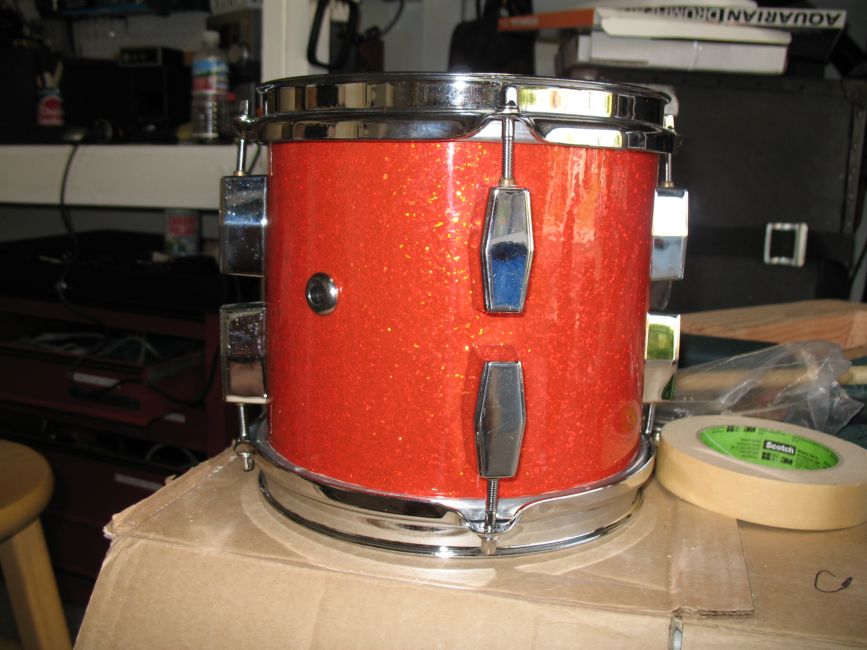
 I
installed the lugs and spurs. Unfortunately I would have to wait to get my new
heads as they were on backorder.
I
installed the lugs and spurs. Unfortunately I would have to wait to get my new
heads as they were on backorder.
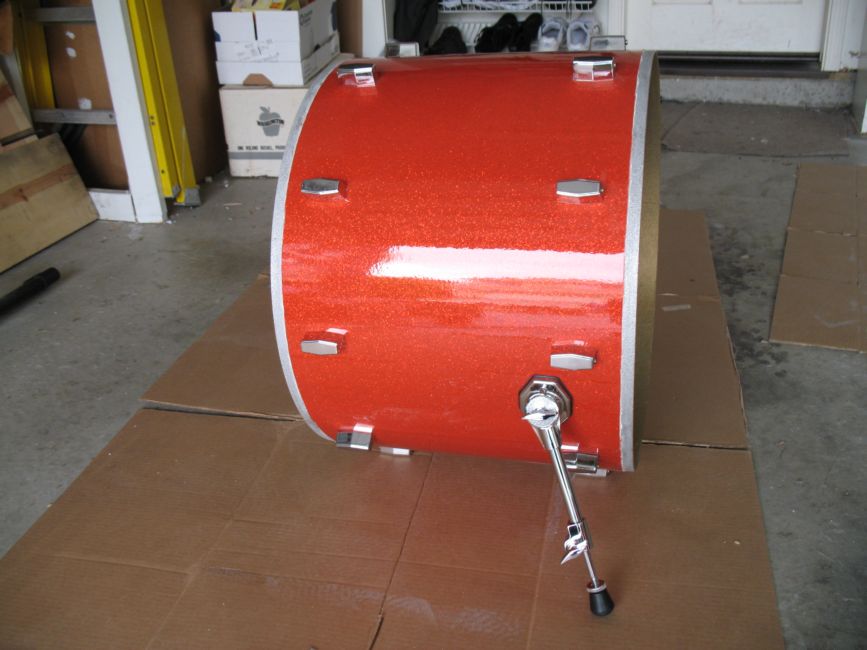 Side view of the kick.
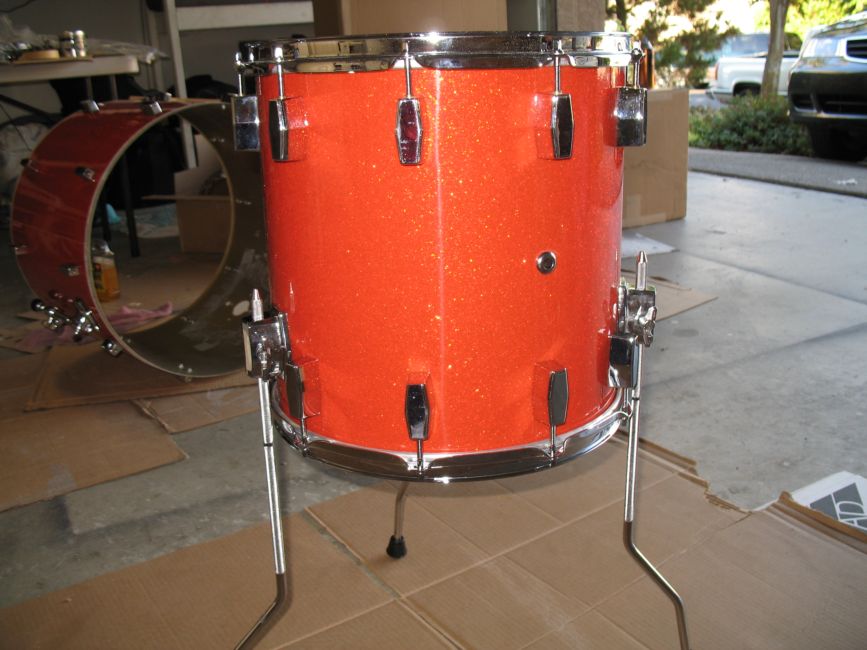
 The Floor Tom completed. One of the floor tom leg mounts was missing two screws
( I think I lost them in transport). It was an unusal metric screw that I could
not fine so I was able to find a screw with a finer thread and used a lot of
washers to make it work.
The Floor Tom completed. One of the floor tom leg mounts was missing two screws
( I think I lost them in transport). It was an unusal metric screw that I could
not fine so I was able to find a screw with a finer thread and used a lot of
washers to make it work.
 Another shot.